One Model, Five Lighting Setups: Maximum Impact, Minimal Gear

Studio lighting does not have to be complicated to be powerful. If you have one model and minimal gear, you can still create professional, dimensional portraits with intention and control. In this post, I break down simple studio lighting setups that help you master direction, shadow, and depth without relying on multiple lights.
If you want the simplified version before diving into the details, here is the core setup:
• One key light positioned at a 45 degree angle to the subject
• Light placed slightly above eye level and angled downward
• Medium softbox or umbrella for soft, directional light
• Subject positioned a few feet away from the background for depth
• Adjust distance of the light to control contrast and shadow intensity
This foundational setup creates dimension, natural shadow, and professional depth without requiring additional lights.
Jump to a Setup:
SETUP 4: Tunnel of Light + Full Movement
SETUP 5: Hand-Painted Canvas Moody Portraits
One Light Studio Setup for Beginners
When I booked a shoot with Minwoo from STNDRD MODELS, I knew I wanted to keep it simple, but impactful. My goal was to show how much creative range you can get using minimal gear, a handful of light modifiers, and a little movement (and caffeine, let’s be honest). This wasn’t about chasing complexity, it was about unlocking possibilities while still making it to dinner on time.
SETUP 1: Optical Snoot + Blue Bounce for a Cinematic Pop
We kicked off the shoot with drama… hello shadows and rich color contrast. I used a Profoto D1 with a Westcott Optical Snoot, circular cutout, to spotlight Minwoo’s face like he was starring in a noir film. Then, I gelled a MagMod XL blue and bounced it into a V-flat, filling the shadows and background with a cool wash.
This gave us a moody, stylized look that felt both fashion-forward and a little experimental. Proof you don’t need ten lights to feel fancy.
Gear Used:
MagMod XL with blue gel
V-flat for bounce


SETUP 2: Stripbox Rembrandt with Blue Fill
Next, I swapped the snoot for a MagMod strip box… a gentler approach, like turning down the drama but keeping the mystery. We still bounced blue into the shadows to keep things icy.
The result? Moodier, less intense, and kind of like Minwoo was starring in a French indie film. This is your sign that sometimes swapping one modifier is enough to totally shift the energy.
Gear Used:
MagMod XL with blue gel
V-flat for bounce


SETUP 3: Classic Cool Tones with Fashion Polish


Time to pivot! We pulled out a stool and went full “chill Calvin Klein campaign.” A single light from the front gave us clean, intentional shadows. I left the blue gel in play but toned it down in post because the drama needed to take a breather.
It’s sleek, it’s simple, and it’s the kind of lighting setup that makes you want to launch your own fragrance line.
Gear Used:
V-flat for negative fill
Minor color grading in Photoshop
SETUP 4: Tunnel of Light + Full Movement
Okay, this one is my actual favorite. We created a DIY spotlight moment using two V-flats, forming a little doorway for the Profoto D1 to shoot through. Modeling light stayed on so Minwoo could hit his marks like the pro he is. Wild what a single light can do when you get creative with it.
We got wide shots, jacket-throwing action shots, and everything in between. He looked like a fashion-forward fighter ready for a Vogue x Mortal Kombat collab. Same light setup, totally different attitude.
Gear Used:
V-flats to shape light


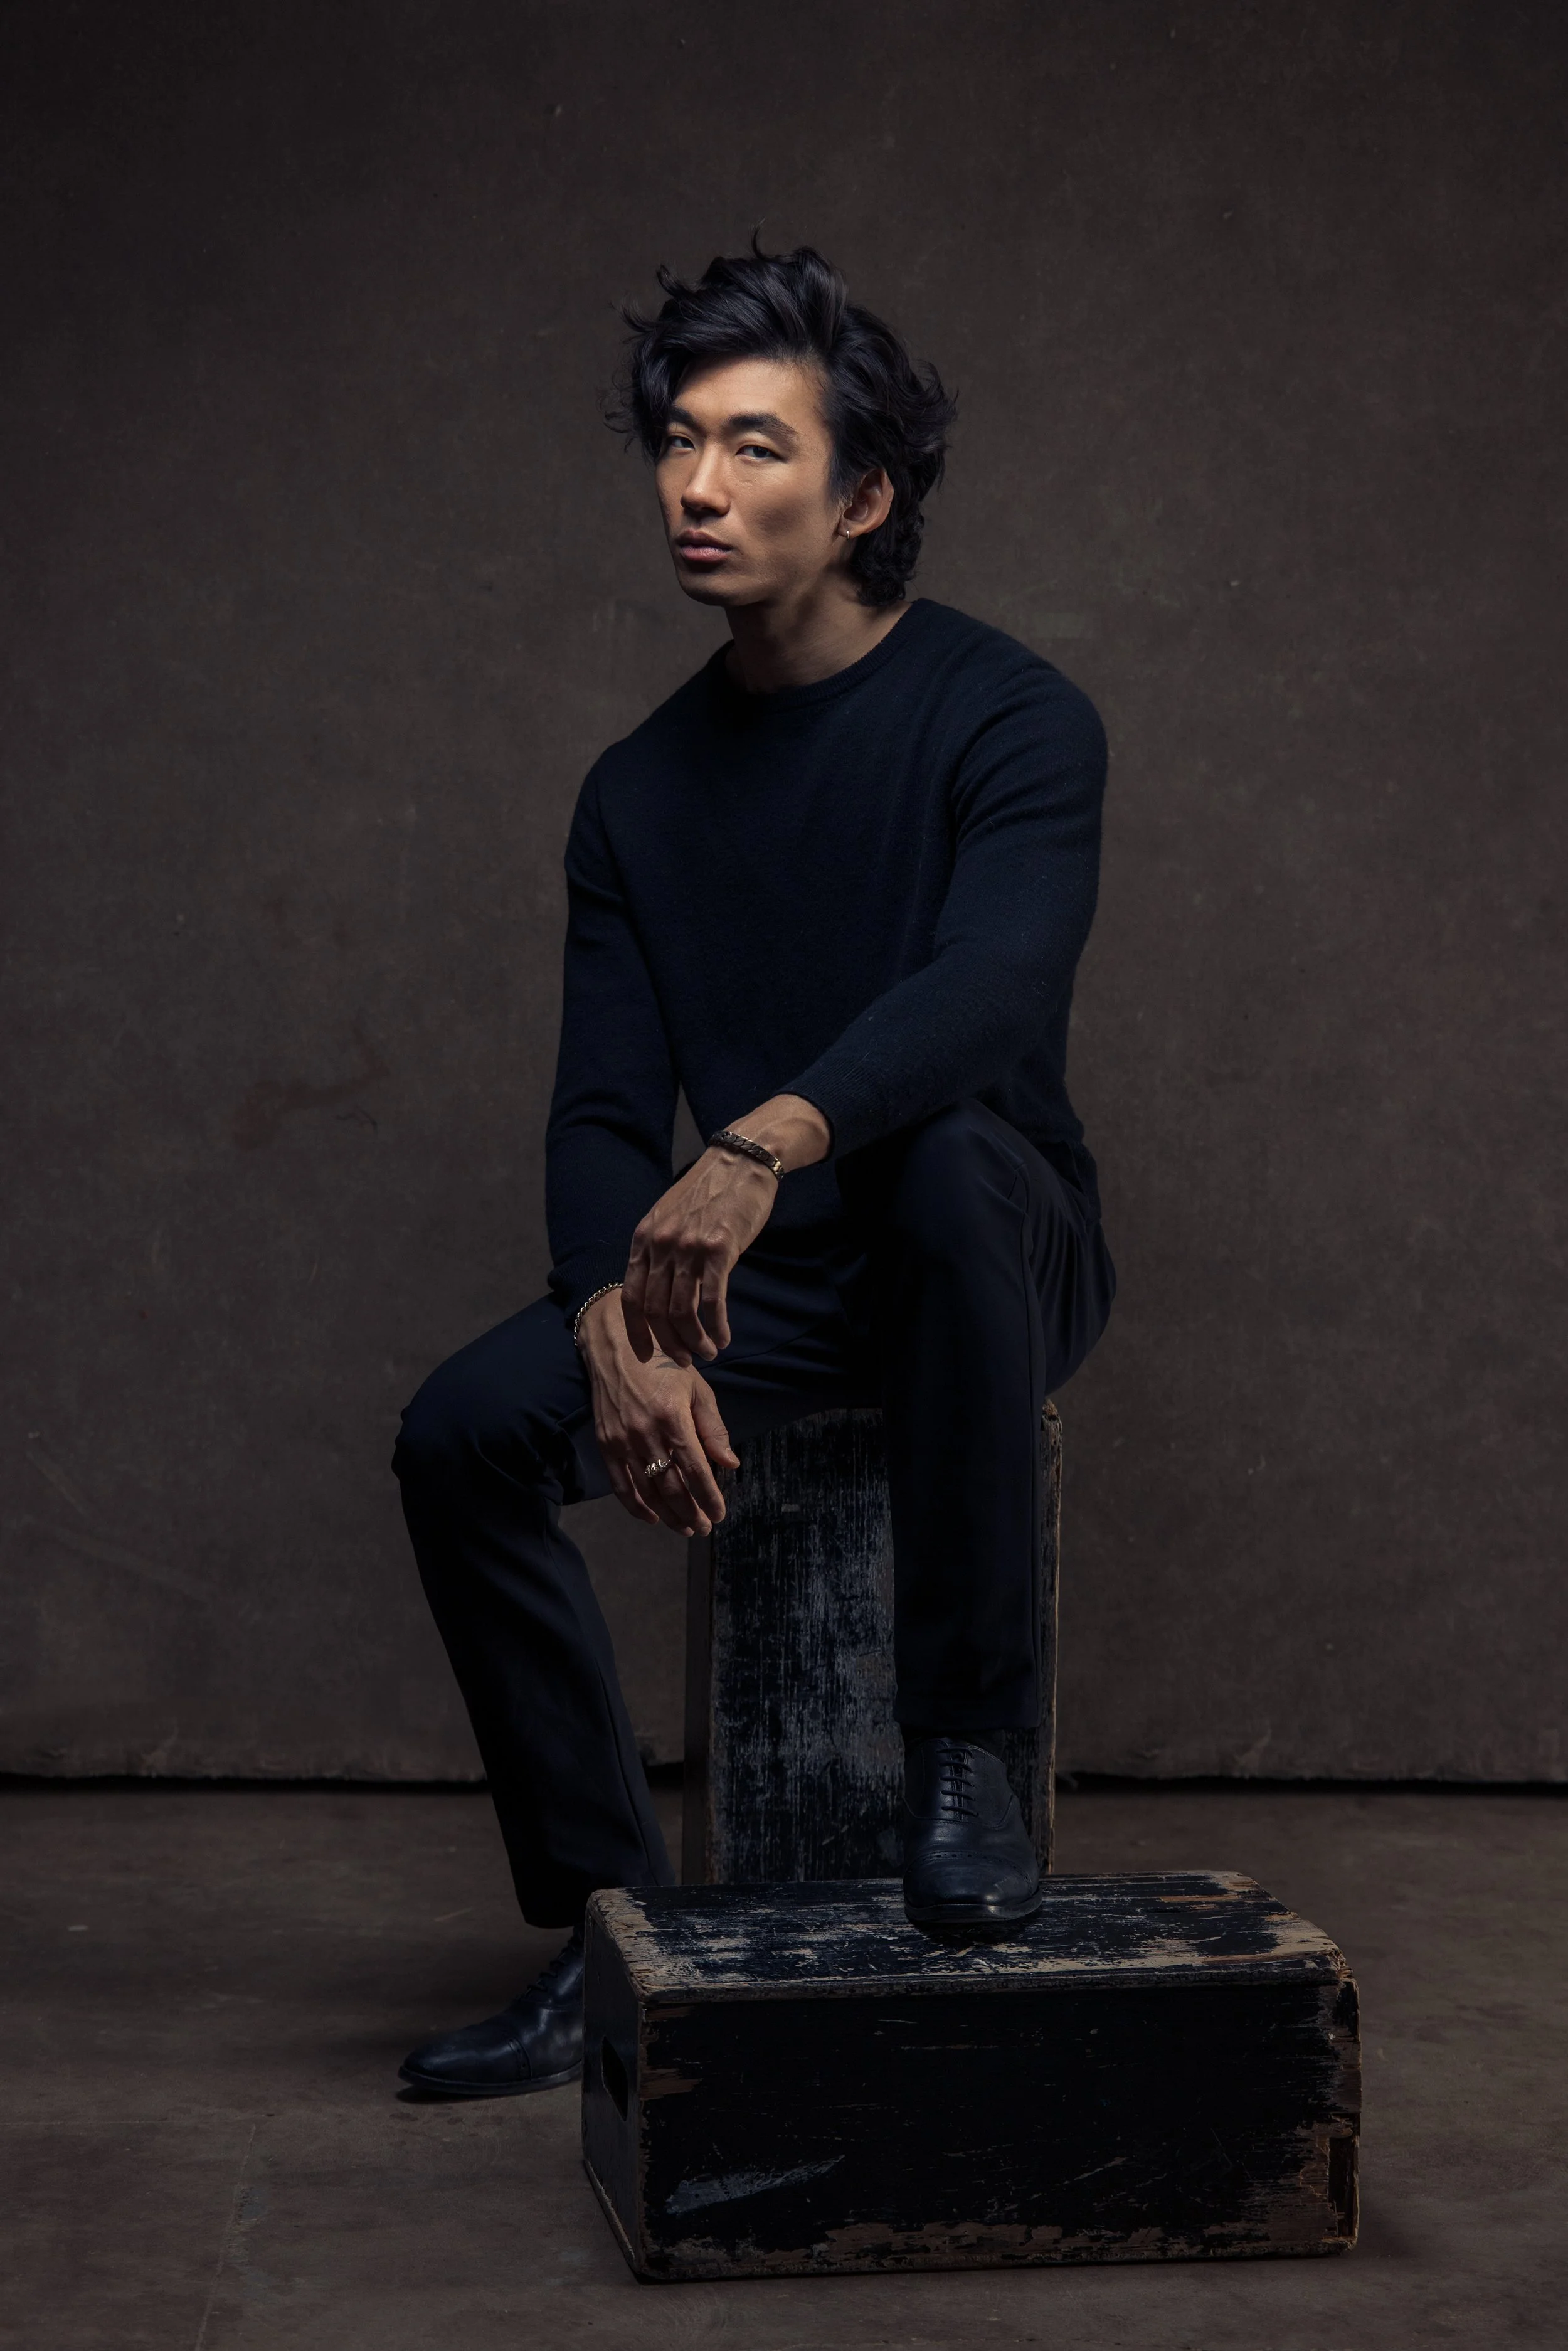
SETUP 5: Hand-Painted Canvas and Moody Portraits
To wrap the day, I had to sneak in some moody portraits… because why not use those gorgeous Westlight Studios canvas backdrops? We found a rich brown-toned one, threw Minwoo in a black sweater, and went full “art gallery opening with wine in hand” vibes.
I used a Profoto Beauty Dish both overhead and from the side and just adjusted Minwoo’s position instead of moving the light a hundred times (work smarter, not harder, friends). This set may not match the others vibe, but it was the perfect cool-down to end the shoot.


Gear Used:
Hand-painted canvas backdrop (brown tone)
See These Lighting Looks in Real Commercial & Editorial Shoots
Every setup above was built for real paying clients. Here’s how the same minimal-gear principles show up in my work:
Cinematic spotlight looks → Jack Daniel’s × Brandon Jennings campaign
Creative Portraits → PORTRAITS
Final Thoughts
This shoot reminded me why I love simple lighting so much. It lets you focus on the fun stuff—posing, storytelling, capturing real energy—without turning every setup into a tech troubleshooting session. Every look here came from just two lights, some creative shaping, and a good playlist.
Once you've mastered these minimal setups and learned to shape light with intention, adding a second or third light becomes a powerful way to amplify mood, depth, and cinematic storytelling… especially for artist portraits. If you're ready to see how I build on these exact fundamentals while progressing from one clean light to layered one to three light setups, check out this full behind-the-scenes session:One to Three Light Studio Lighting: Artist Portraits
Big thanks to STNDRD MODELS and to Minwoo for being down for every lighting experiment and jacket throw.
HUGE THANKS TO:
ANTHONY ROMANO: Photography Assistant + BTS Video
NISSI LEE BEAUTY: Male Grooming + BTS Video
Until next time… keep it simple, keep it fun, and keep creating with heart (and maybe snacks).

Ready to Master Lighting Like This in Your Own Studio?
If you’re a photographer tired of guessing and want to confidently build pro setups with whatever gear you already own, my 1:1 mentoring is built for you. We’ll spend 90 minutes in your studio (or on Zoom) breaking down your current setup, fixing pain points, and creating 3 signature looks you can use immediately.
Next steps:
• Book your free 20-minute Discovery Call — no pressure, just real talk about your goals
• Or explore my group workshops & lighting masterclasses that take place in the Nashville and Middle Tennessee area.
Frequently Asked Questions About Studio Lighting With Minimal Gear
1) What is a one light studio setup?
A one light studio setup uses a single key light to create shape, depth, and dimension in a portrait. Instead of relying on multiple lights, you focus on direction, height, and distance to control how shadows fall across the subject. Mastering one light builds stronger technical understanding and confidence in the studio.
2) Can I create professional portraits with minimal lighting equipment?
Yes. Professional results come from understanding light, not owning more gear. With one quality light and the right modifier, you can create clean, editorial level portraits. Intentional placement and thoughtful shadow control matter far more than the number of lights in the room.
3) What lighting modifier should beginners start with?
If you are just getting started, a simple umbrella with diffusion fabric is one of the easiest tools to begin with. It is affordable, quick to set up, and creates soft, flattering light without requiring complicated adjustments. Because umbrellas spread light more broadly, they are forgiving and make it easier to learn how light direction and distance affect your subject.
Once you feel confident controlling that light, you can explore softboxes, strip boxes, or beauty dishes for more sculpted and dramatic results. But mastering an umbrella first builds a strong, approachable foundation.
4) Where should I position one light for studio portraits?
Start by placing the light slightly above eye level and angled down toward the subject at about a 45 degree angle. This creates natural depth and dimension across the face. Small adjustments in angle and distance can dramatically change the mood and contrast of the image.
5) Is one light enough for commercial photography?
In many cases, yes. A strong commercial portraitoften relies on one intentional key light and precise shadow control. When you fully understand how to shape a single lightsource, you can create images that feel polished and dimensional without unnecessary complexity.
That level of planning ensures the final imagery feels cohesive, aspirational, and aligned with the hotel’s future identity.
6) Why is starting with one light better for learning studio photography?
Starting simple forces you to focus on fundamentals. You learn how direction affects mood, how distance controls contrast, and how height changes facial structure. Once you understand those core principles, adding more lights becomes a creative decision rather than a technical crutch.
7) Can beginners really learn studio lighting without expensive equipment?
Absolutely. Studio lighting is a skill developed through practice and observation. You can build confidence with one reliable light and a thoughtful setup. As your understanding grows, your creativity expands with it.
8) How do I book a session with Tausha to get lit like this?
Easy... head to my Headshots & Personal Branding page or Book a discovery call and we’ll create something custom for your brand.